Securely email from Azure Automation Runbook Keyvault
The other day I was talking to a colleague and evaluating options for modernizing a bunch of on-premises scripts. We discussed Azure Automation Accounts with PowerShell Runbooks as an option when I heard the feedback “it’s hard to email from a runbook” so I dove in, read a number of articles and got to work as I was curious how this can be done in a secure and modern fashion. In this post I’ll walk through the concept and how you can build it yourself using Azure Automation, PowerShell, Microsoft Graph and Keyvault.
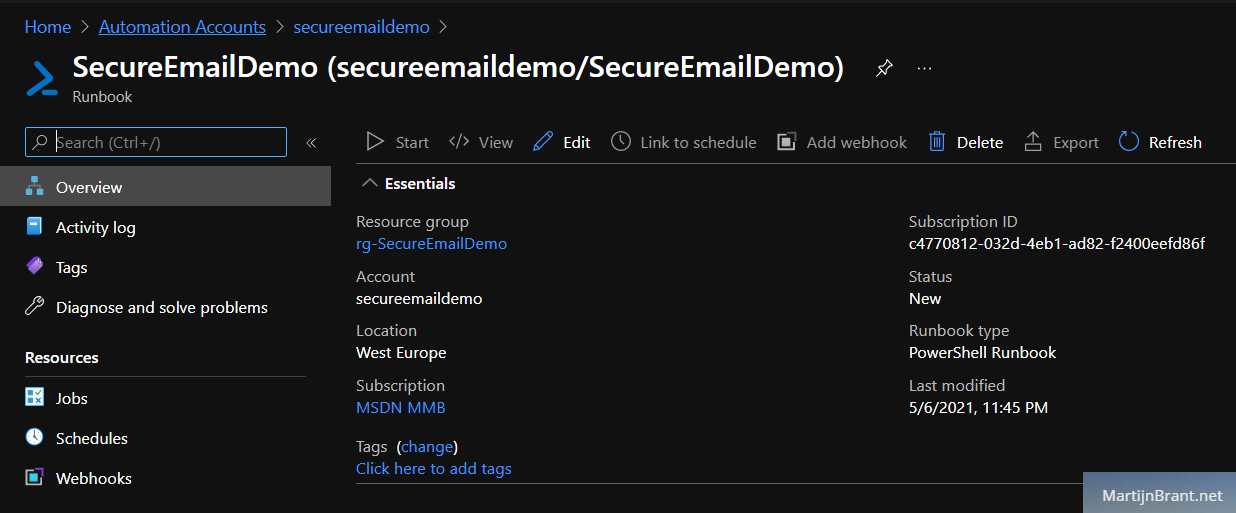
 Azure Automation Account - Runbooks
Goals and concept
The goal was pretty clear. We wanted to send an email from a PowerShell runbook without storing/maintaining SMTP credentials and not rely on an open SMTP relay (boooo).
- Has to use Azure Automation - PowerShell runbook.
- Can’t have credentials stored in the script.
- Shouldn’t rely on SMTP servers or relays.
- No on-premises or IaaS dependencies.
- Minimize or no usage of 3rd party services like SendGrid.
The concept for this is actually fairly simple. This will require a Microsoft 365 tenant with mail-enabled users and use of the Microsoft Graph API to interact with Exchange Online / email services. Using Azure AD, we’ll create an App Registration with Credentials (this allows us to interact with the Microsoft Graph in a secure scripted manner). To send an email, permissions must be set using the Graph API permissions feature of the Azure AD App Registration. We’ll use an Azure Key Vault to store necessary secrets or credentials securely.
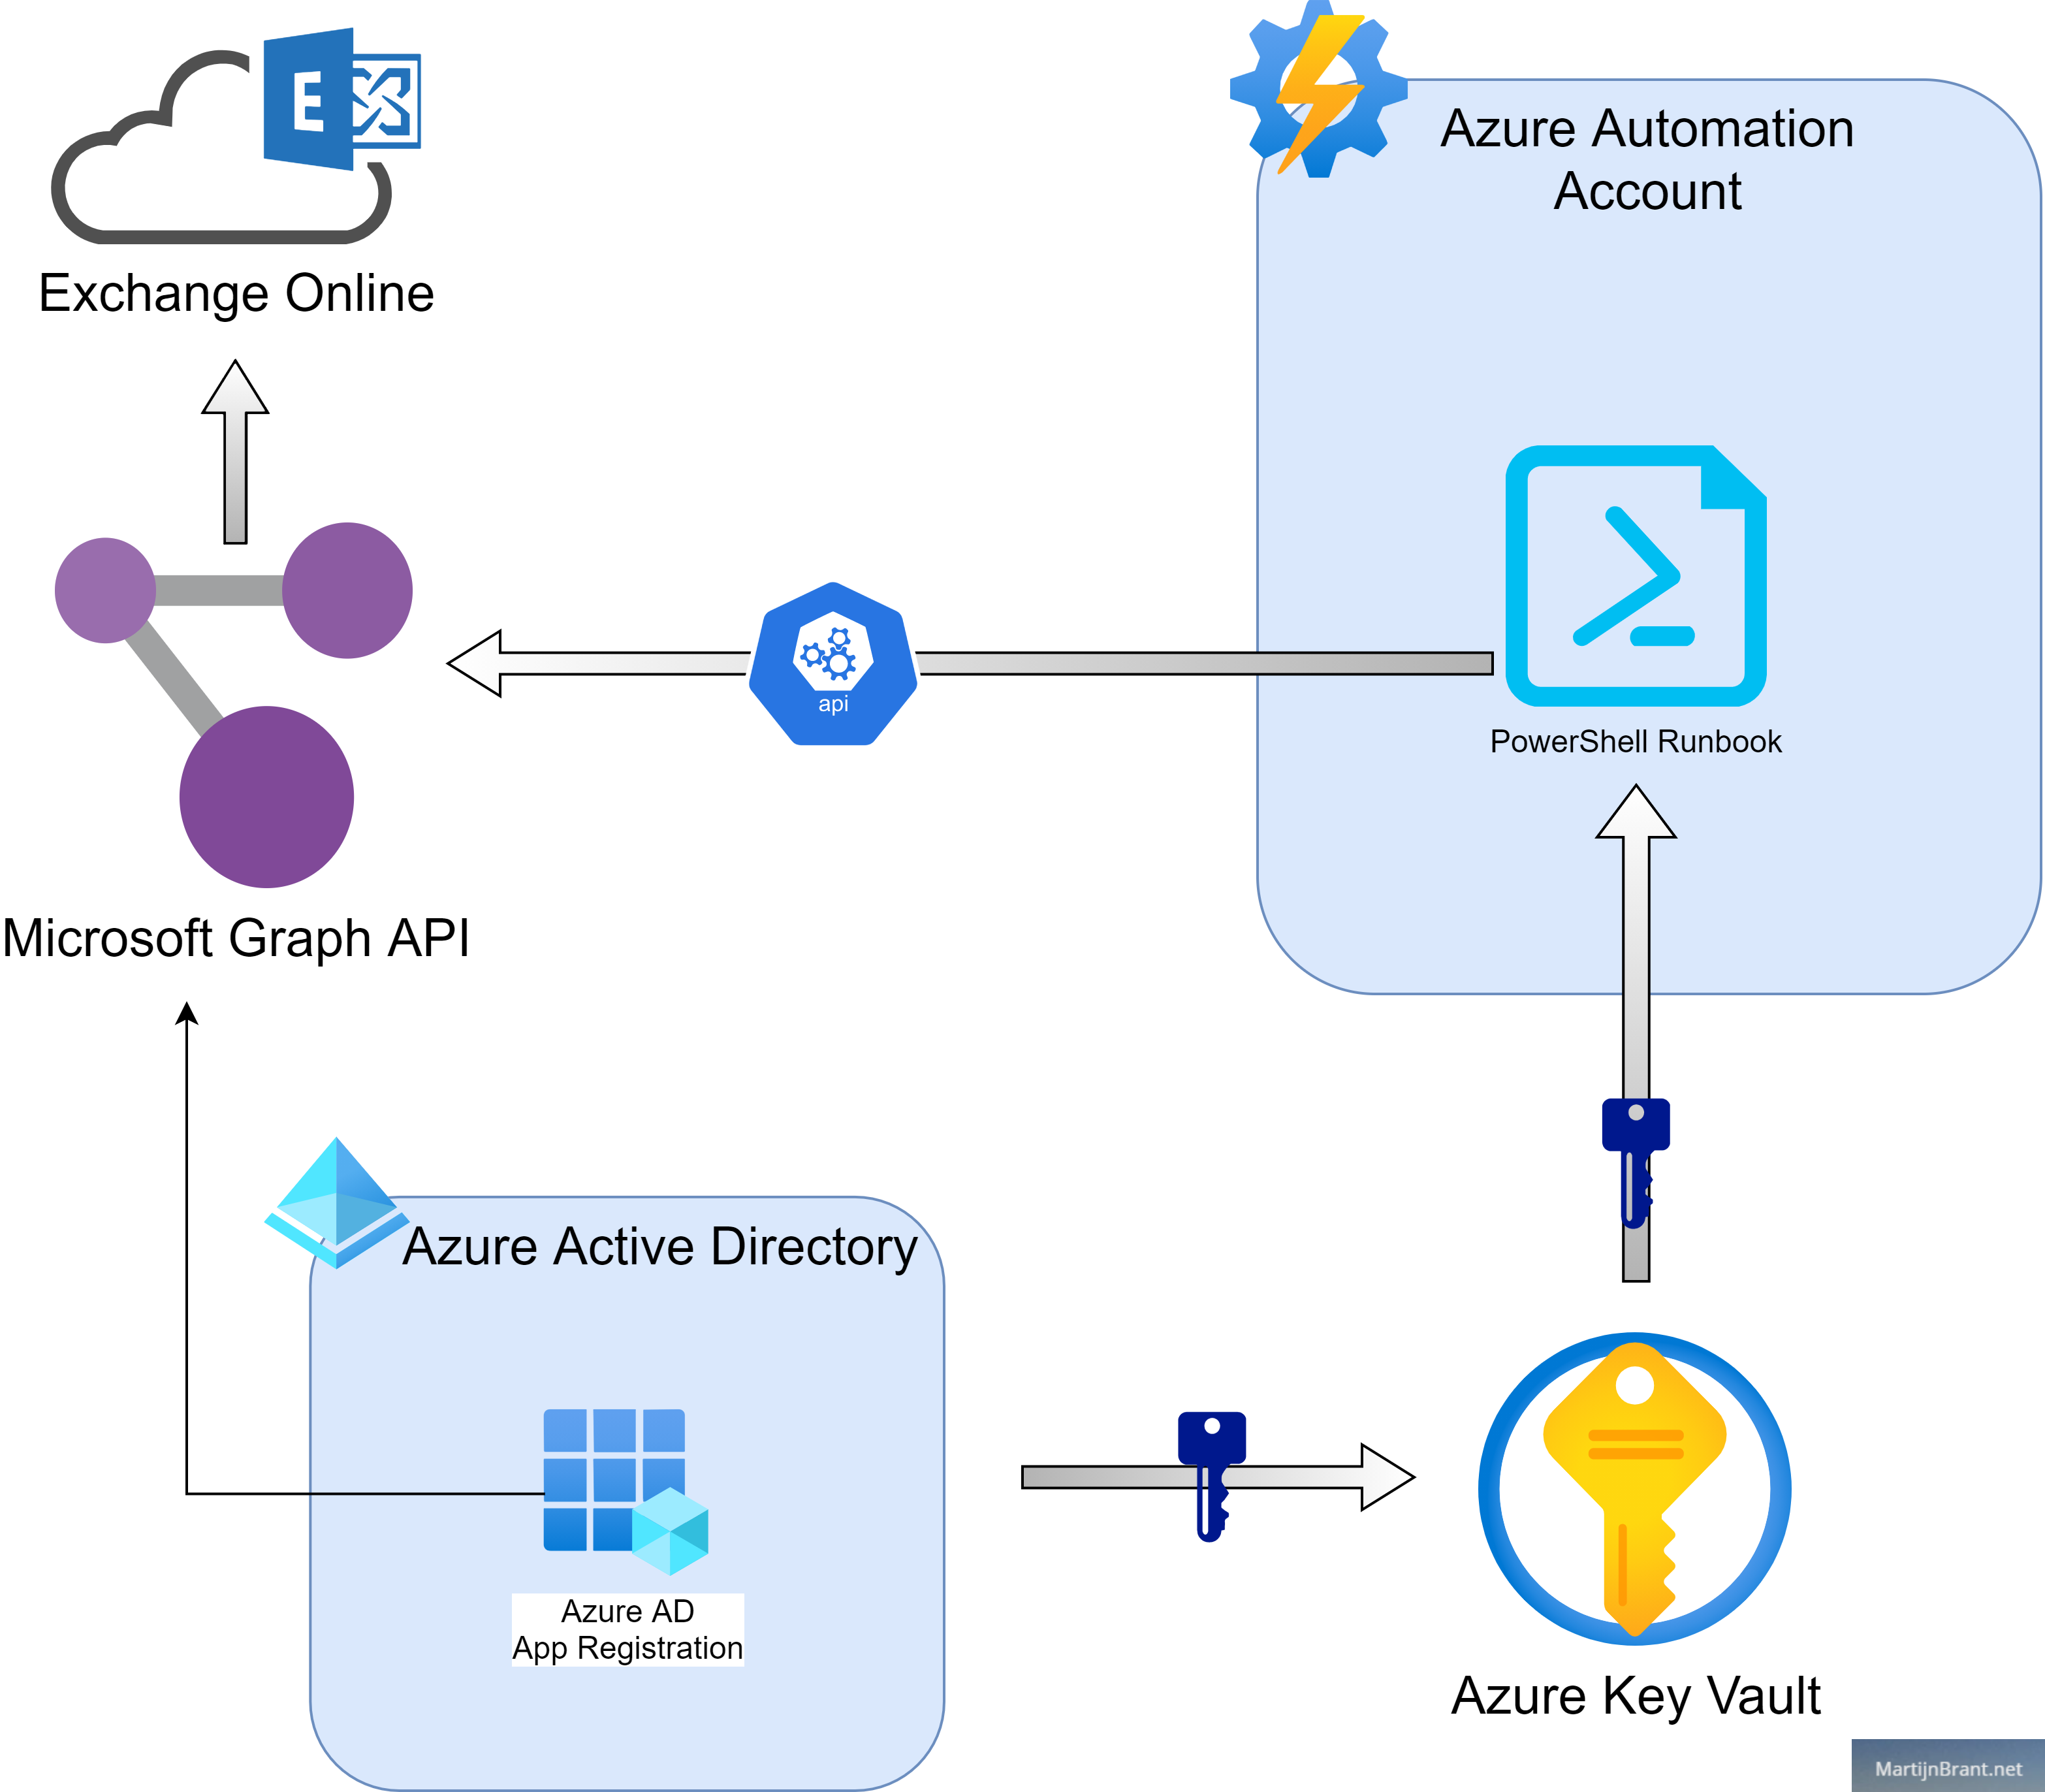 Basic overview of the email from Runbook solution
When we look at the chart above, we see the Azure AD App registration registering the needed permissions in the Graph API and store it’s credentials in the Key Vault. Using a bit of PowerShell code and a Automation Account RunAs account, we can retrieve the credentials from the Key Vault. Next, we call the Microsoft Graph API to retrieve a token and use that token to send an email.
Setting up the Azure AD App
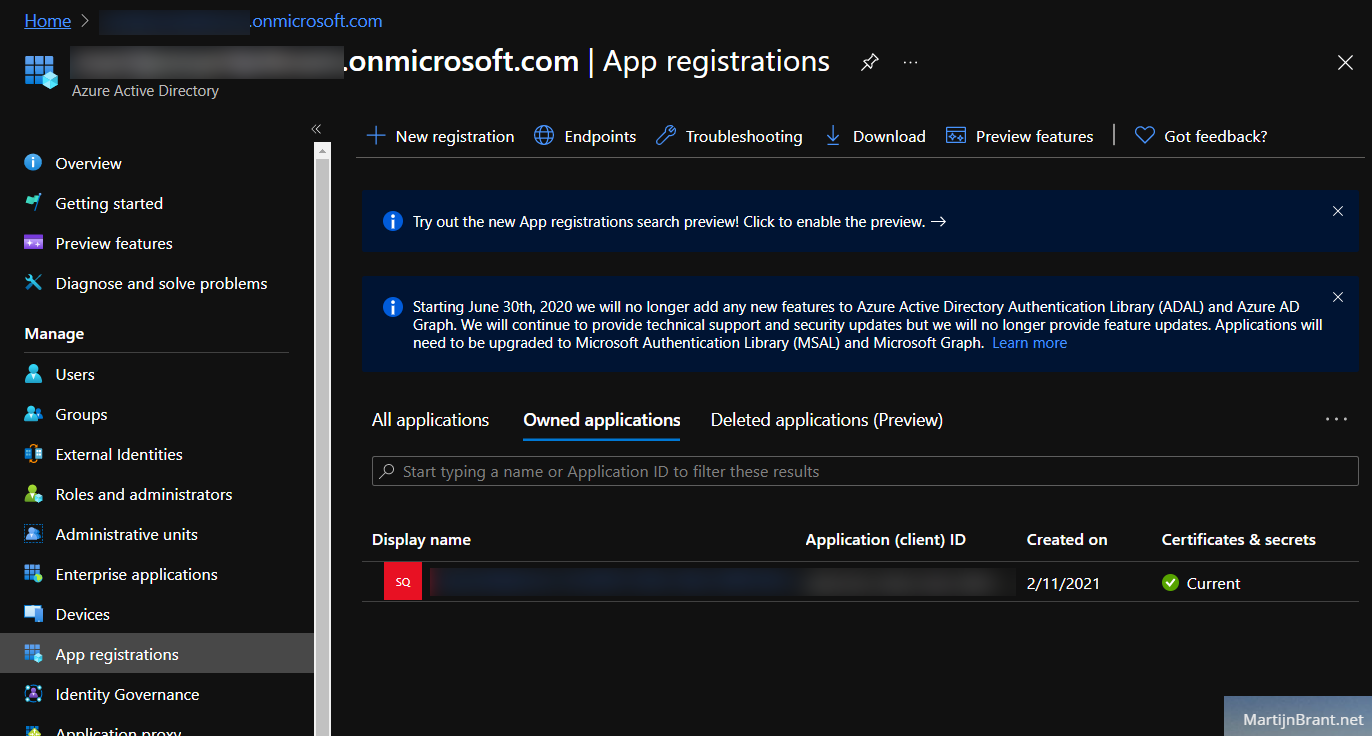
Let’s get to work! First we go to Azure AD and look up App Registrations.
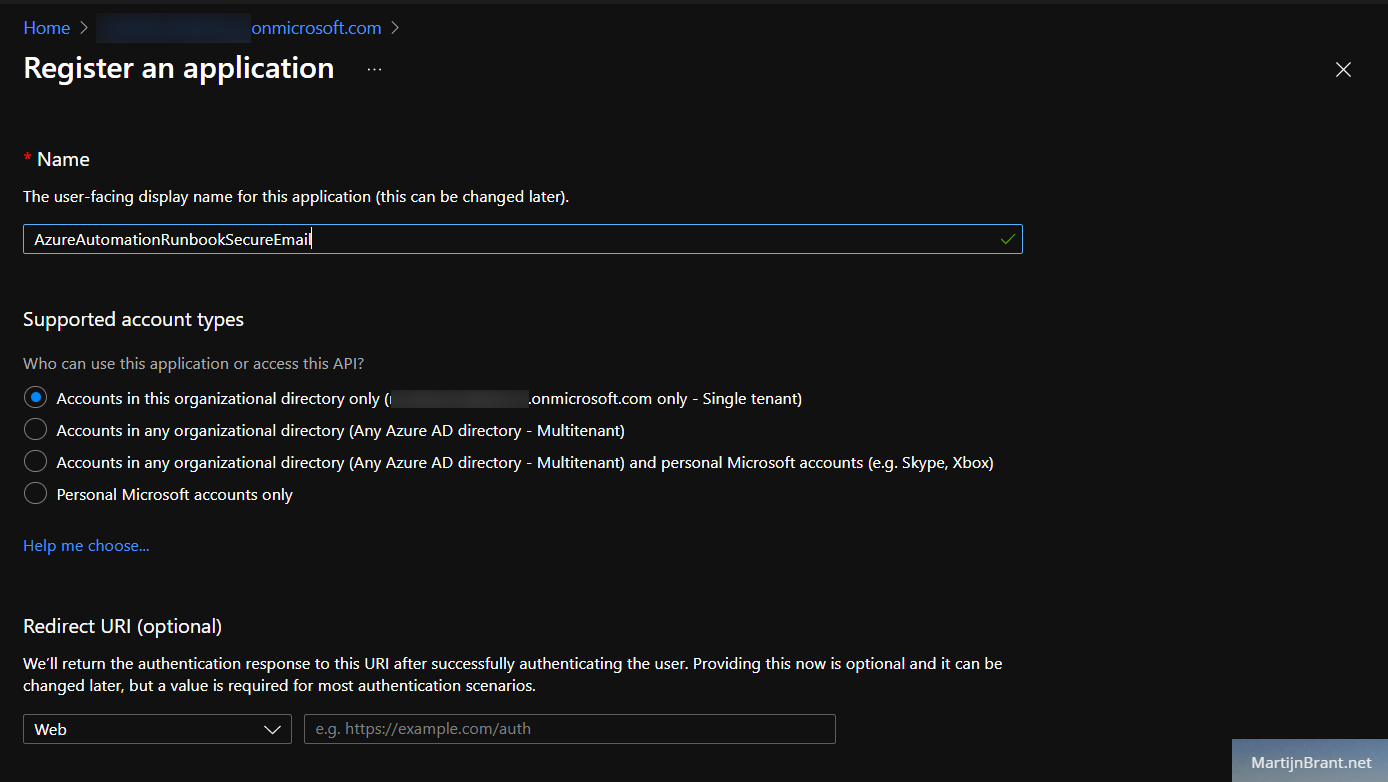
From here we’ll chose New Registration, give it a name and select Supported Account Types (by default, the first is more than enough).
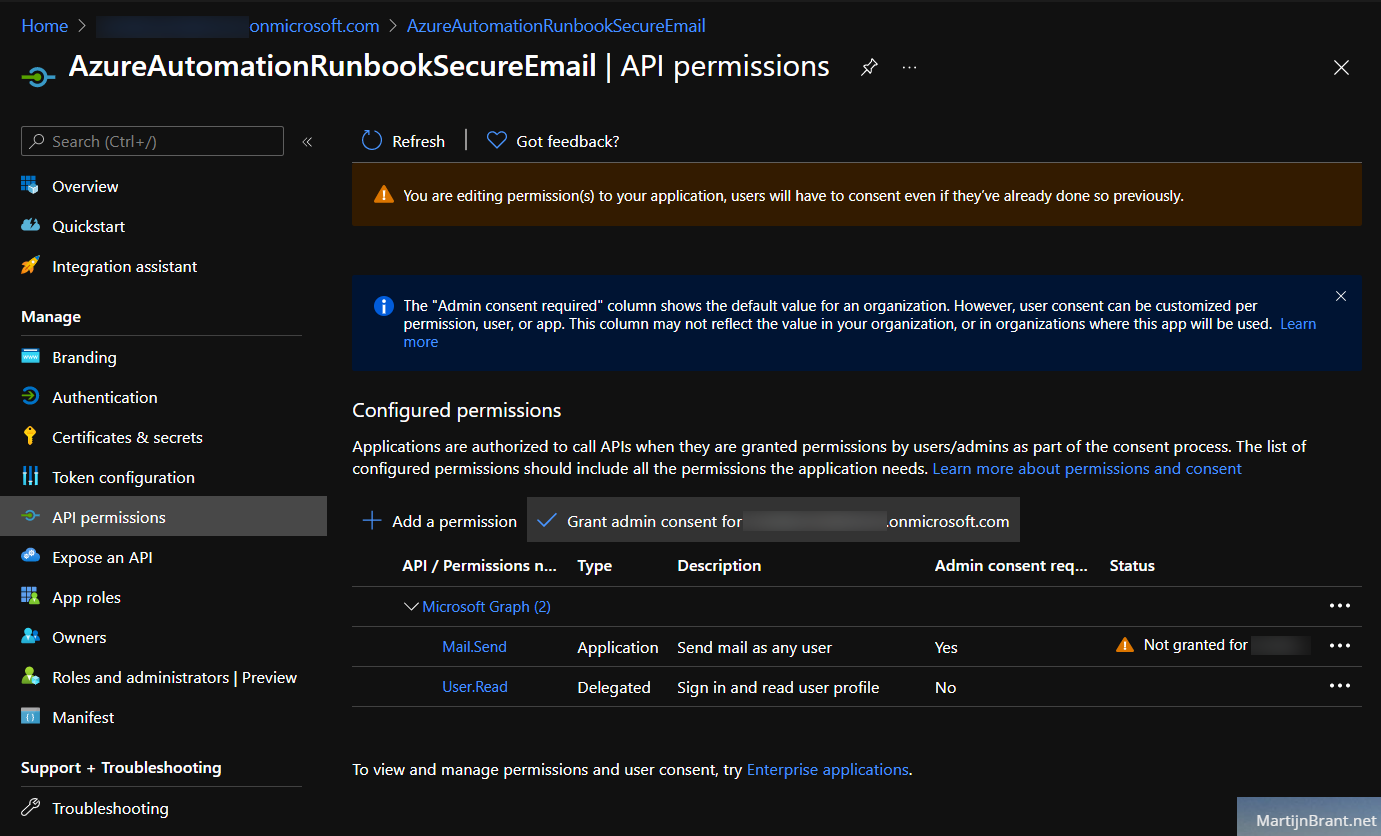
After it’s created, open it up and check out the API permissions section. From here we’ll grant this app the permission to access the Microsoft Graph API and send emails on behalf of users.
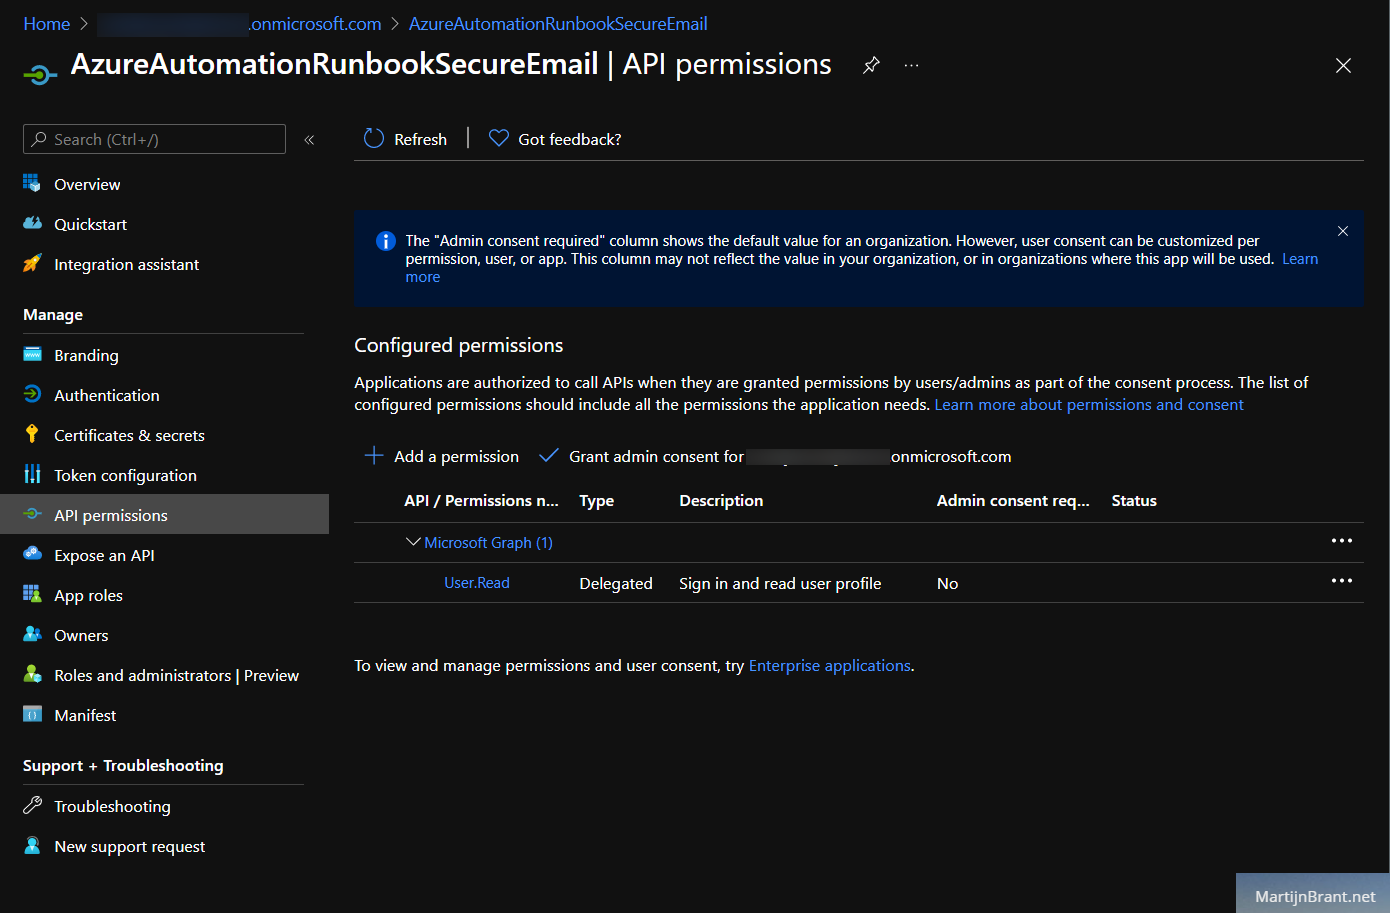
Select “Add a permission” and look for the Microsoft Graph on top. Search for send and check “Send mail as any user”.
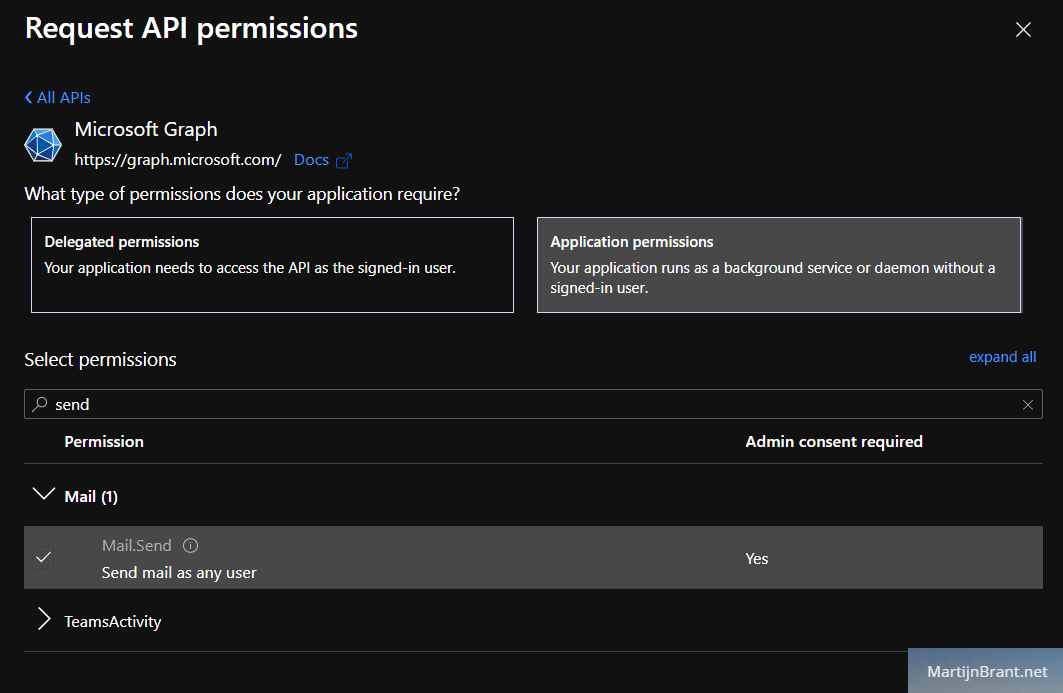
You’ll notice that the new permission has the status “Not granted”. You can fix this by clicking the “Grant admin consent” button above.
Next, we need a way to access this app (and the API permissions it now has). We do this by going over to the Certificates & secrets section. Think of this like a username and password. By knowing the application ID and the secret, we can call on this app from our own custom code. Select “New client secret” and add a client secret.
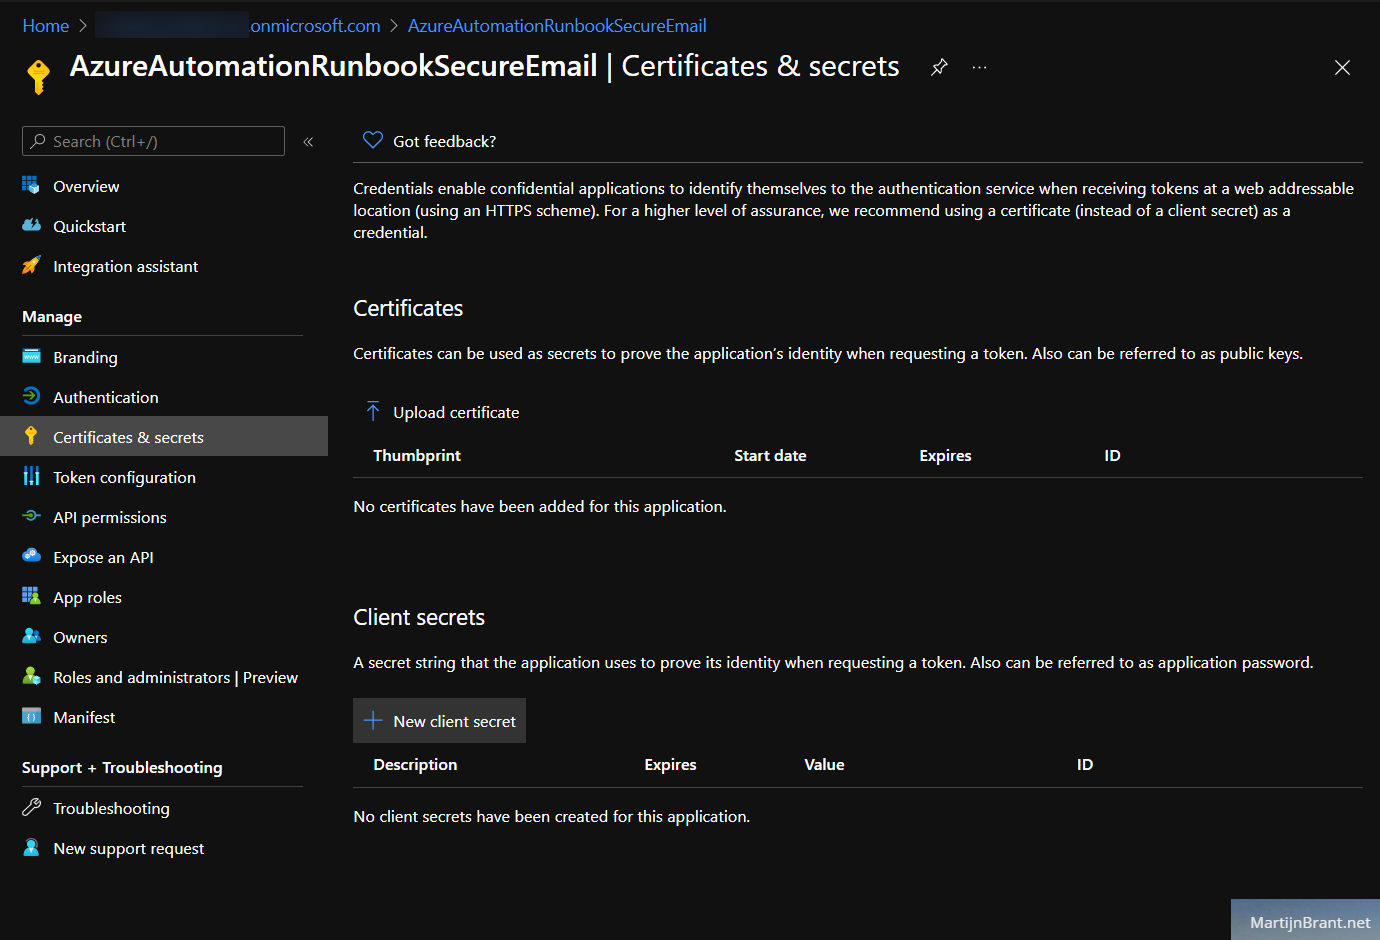
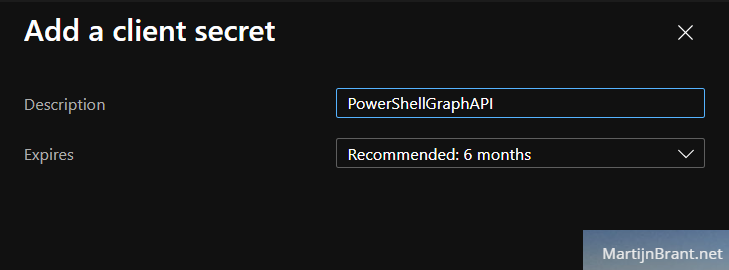
It’ll show you the new secret in the overview page. Be sure to copy the new secret as it will only be shown once.

Finally on the overview page, you’ll find the “Application (client) ID” and “Directory (tenant) ID”. Jot those as well as you’ll be referring to them later.
Automation Account
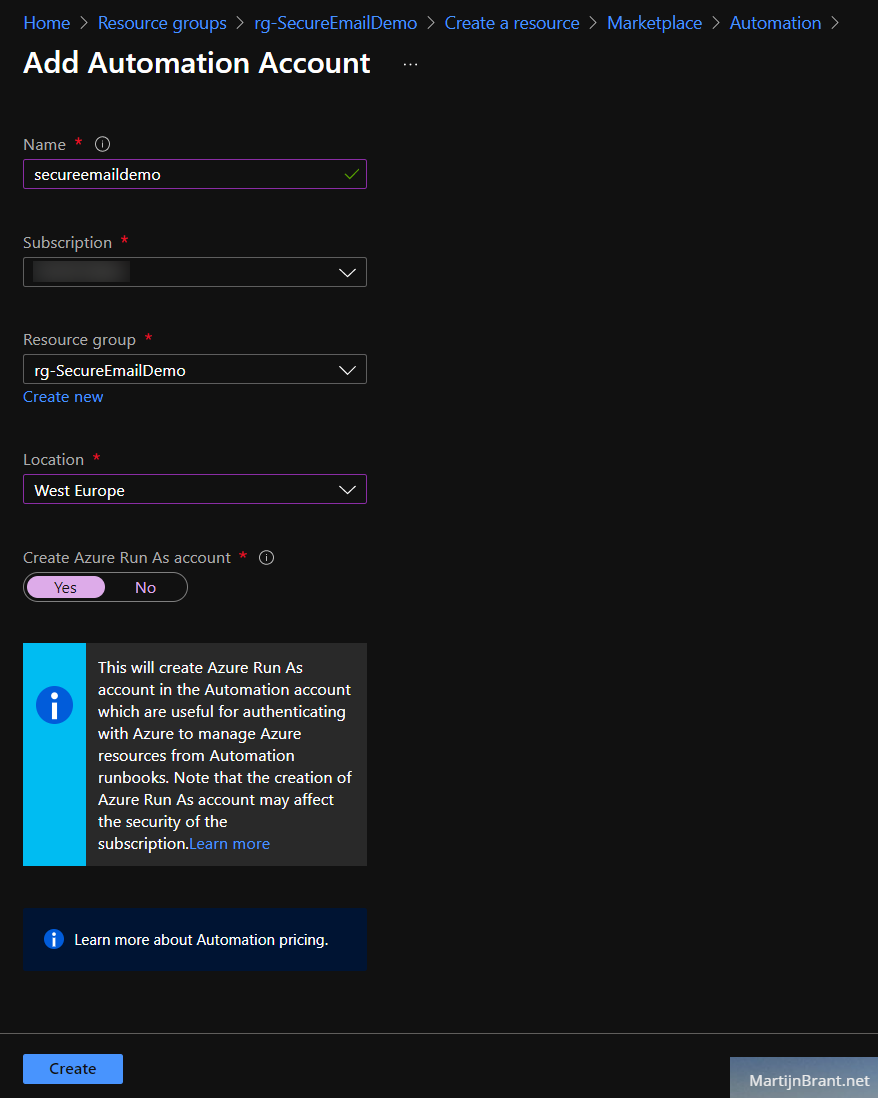
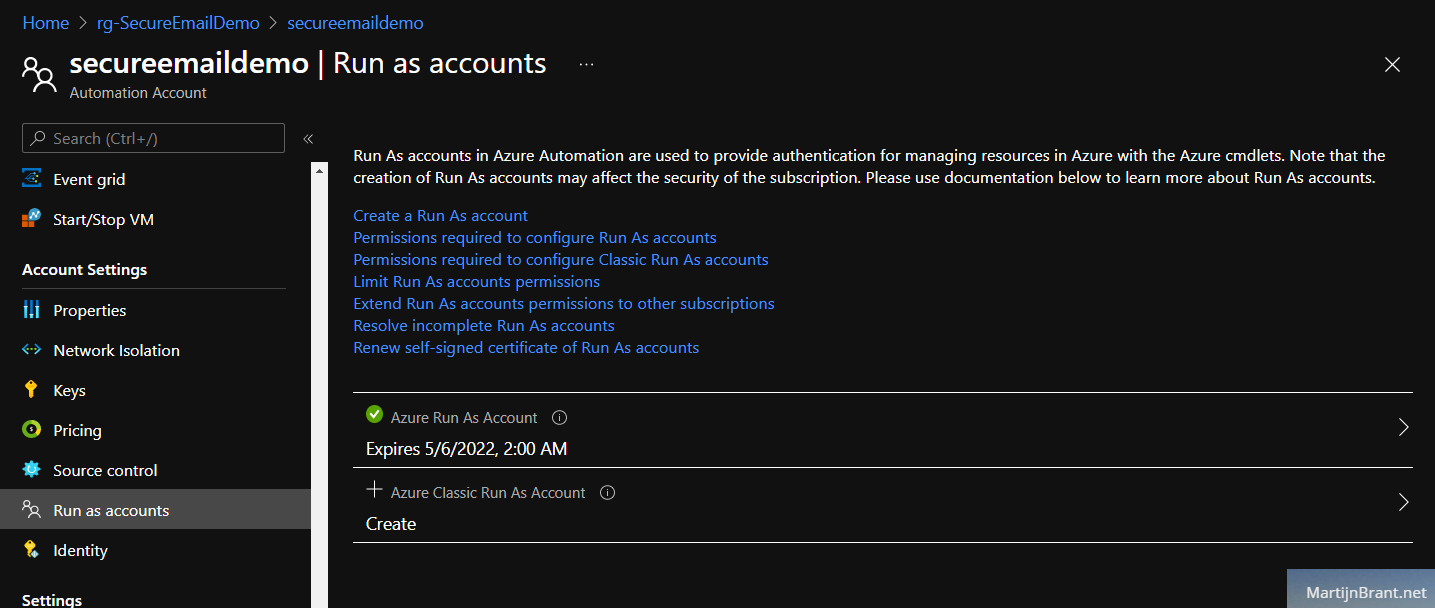
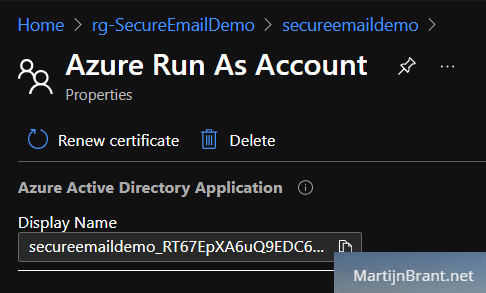
Next up we’ll setup an Automation Account. You may already have this but be sure to check if it has a proper RunAs account. Follow these steps if you want a new Automation Account. Go to the marketplace and select Automation. Fill in the details and select Yes on Create RunAs account. Finally remember the name of the RunAs account by opening the new Account and going to RunAs. We’ll refer to this later when we create the Key Vault.
Key Vault
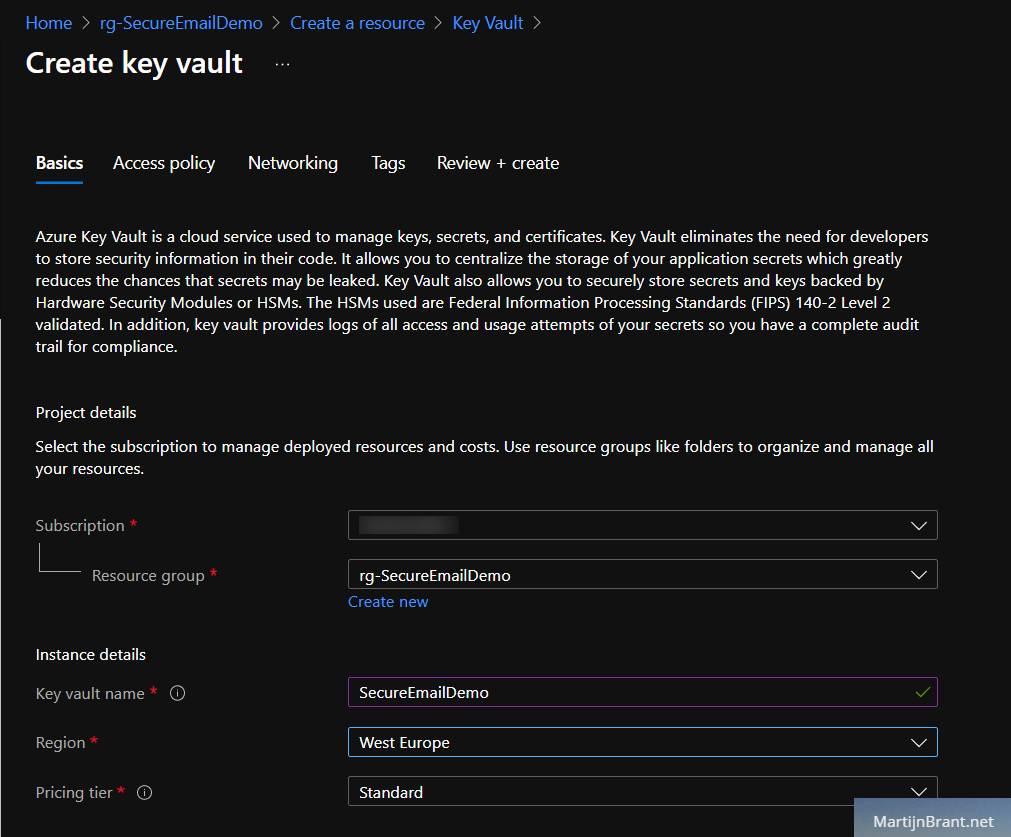
To securely store the app-credentials, we’ll create a Key Vault. Like the name implies, it’s a security service that allow for finer control over sensitive data like logins, certificates etc. The default settings when creating a new Key Vault are fine. Under Access Policy we’ll add the name of the Azure Automation Account RunAs account.
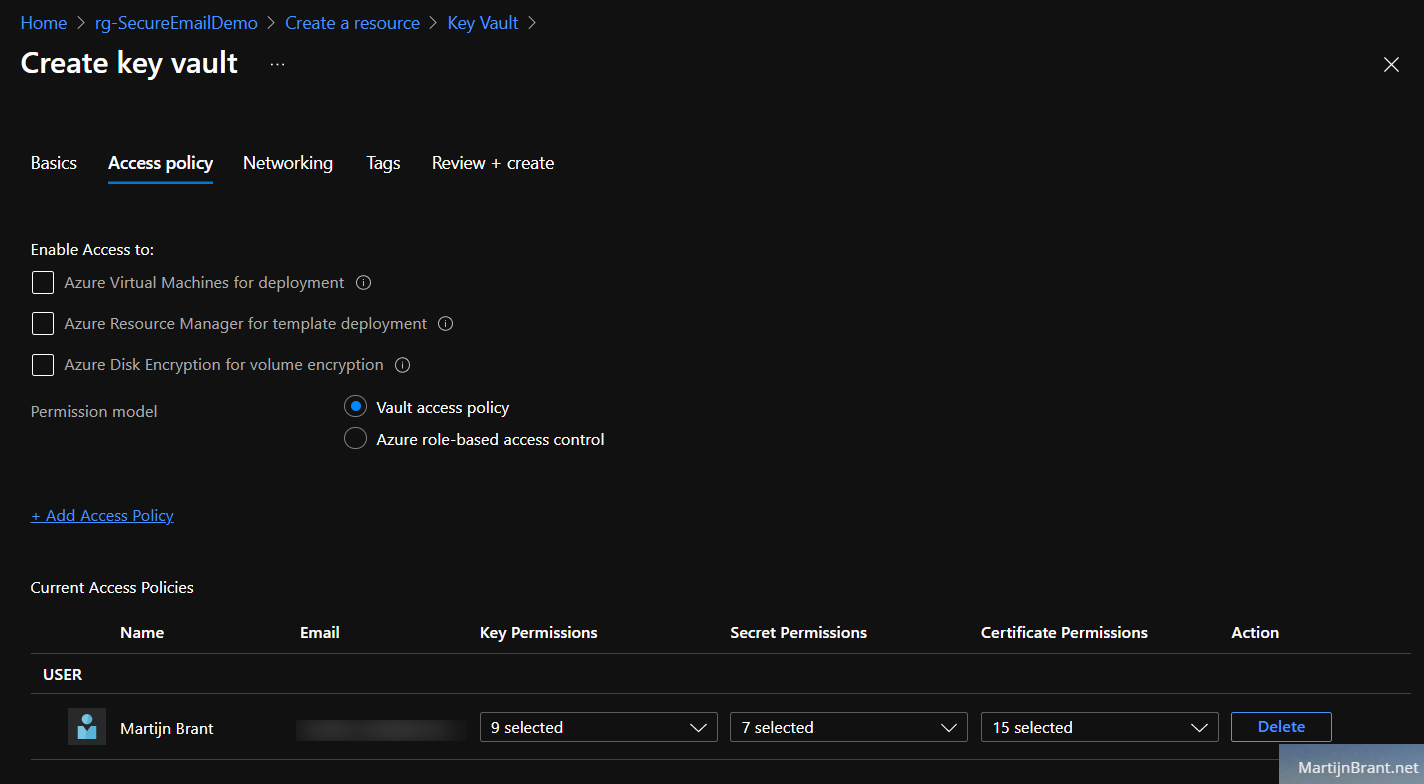
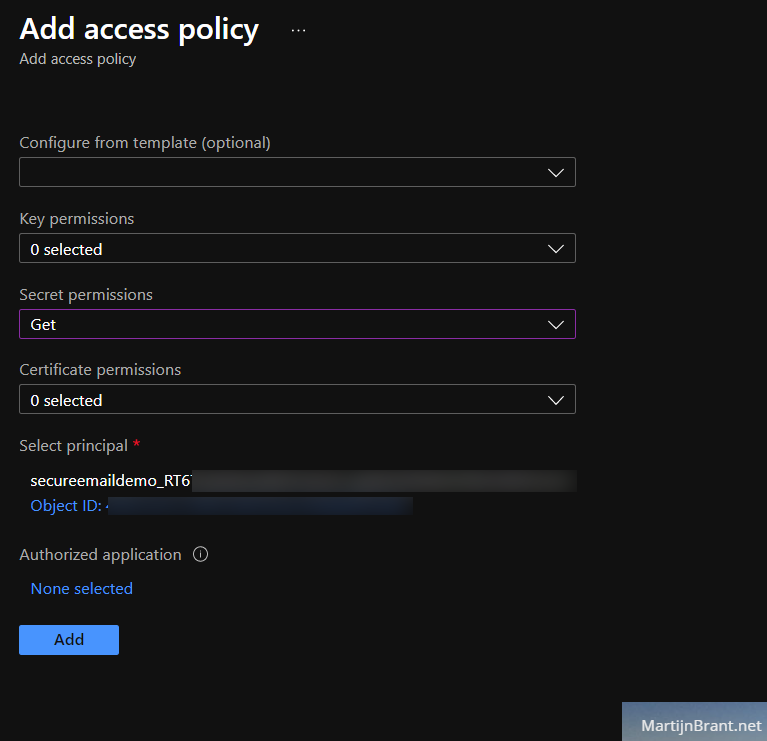
When we’re adding the RunAs account (under select principal), we only need permissions to get a secret. Leave key and certificate permissions to 0 selected.
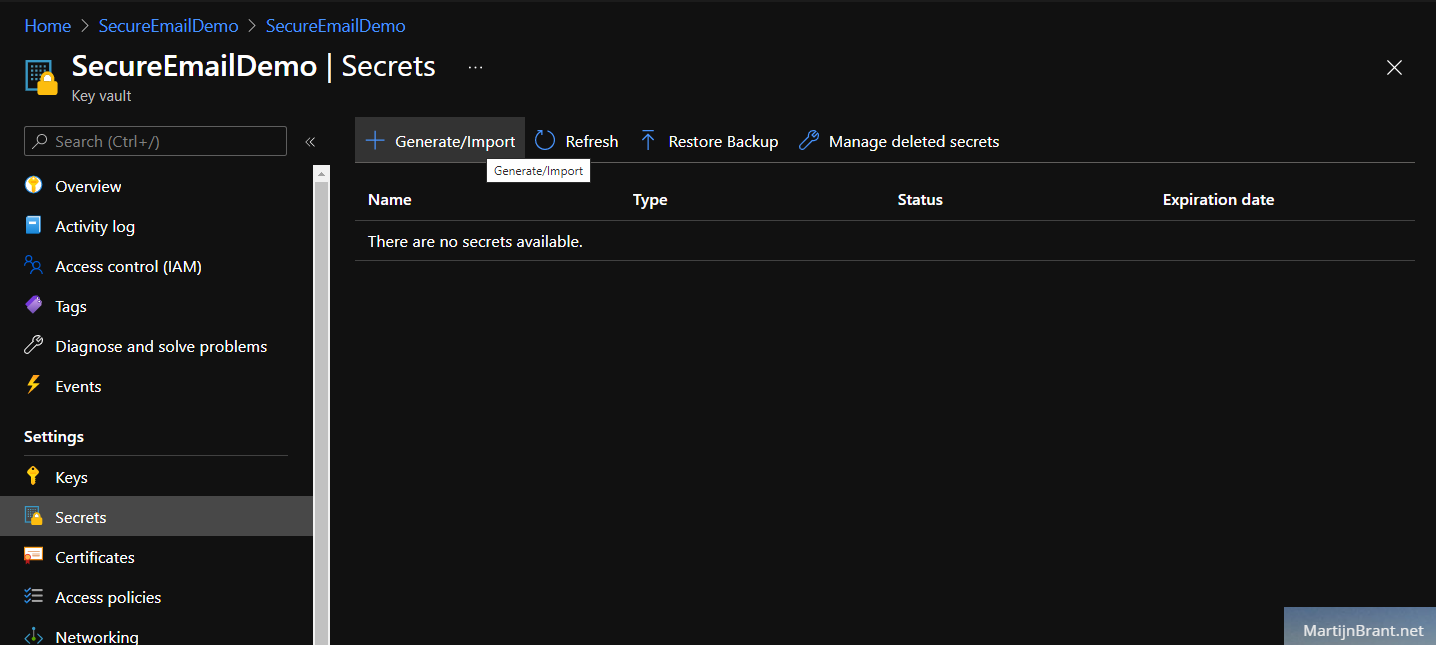
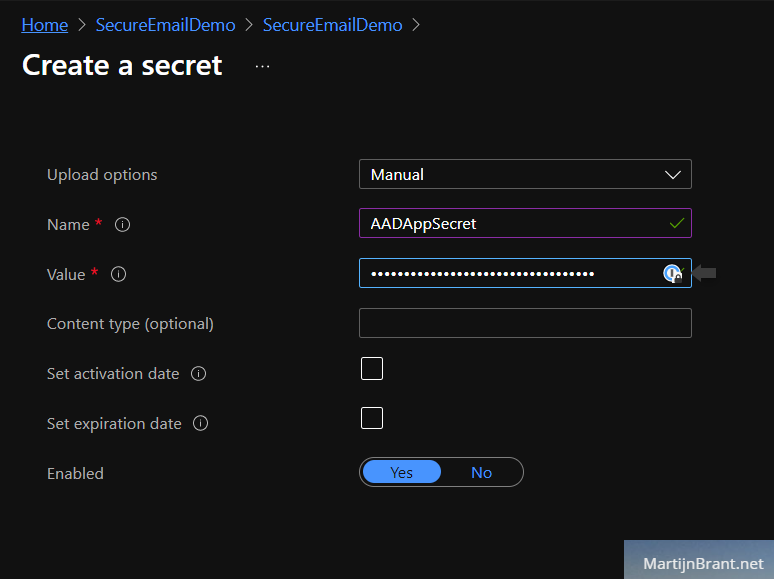
Leave the rest to default and create the vault. Open it and go to the secrets section. Here we’ll add the Azure AD App Registration Client Secret we noted down earlier. Click the Generate/Import option and select upload option Manual. Give it a name (we’ll refer to this in our PowerShell script) and fill the Azure AD App Registration Client Secret in Value.
Just to recap the steps we’ve taken thus far. We’ve created:
- An Azure AD App Registration and we gave it permission to send emails.
- An Azure Key Vault to safely store the access credentials to the Azure AD App.
- An Automation account to host our PowerShell script and given it permission to access the Key Vault.
PowerShell Runbook in Azure Automation
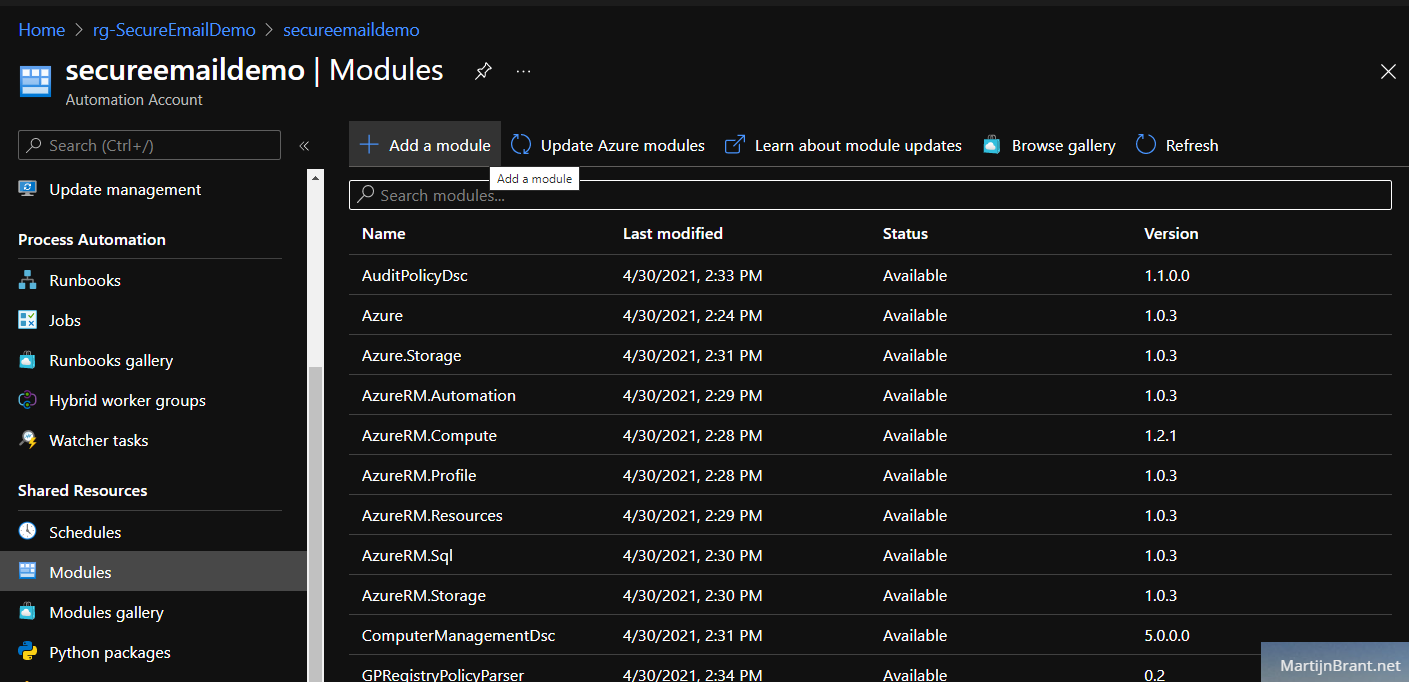
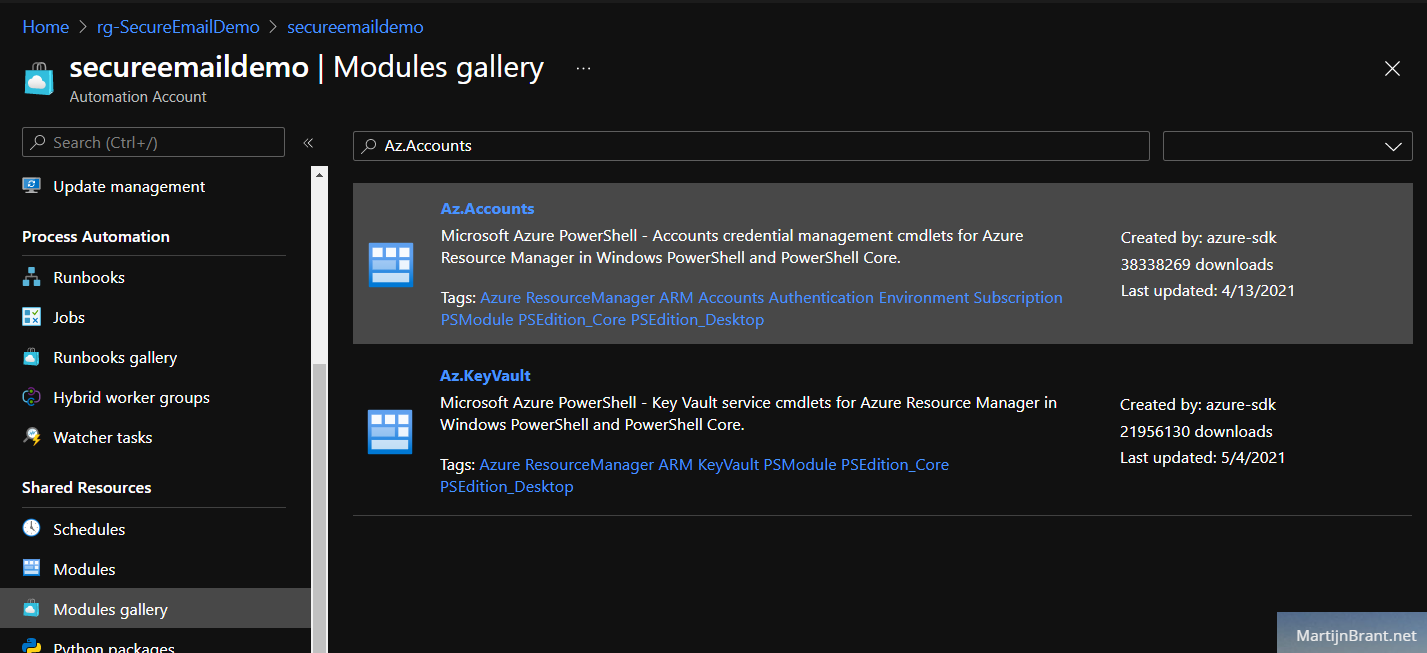
Next up is the script. In order to access the Key Vault from our PowerShell Runbook, we need PowerShell modules. Without these modules, PowerShell won’t know how to access and talk to the Azure resources. In the Auotmation Account, go to Modules. Click Add a module and add the Az.Accounts and later the Az.KeyVault (in that order, be patient, adding the first takes a while).
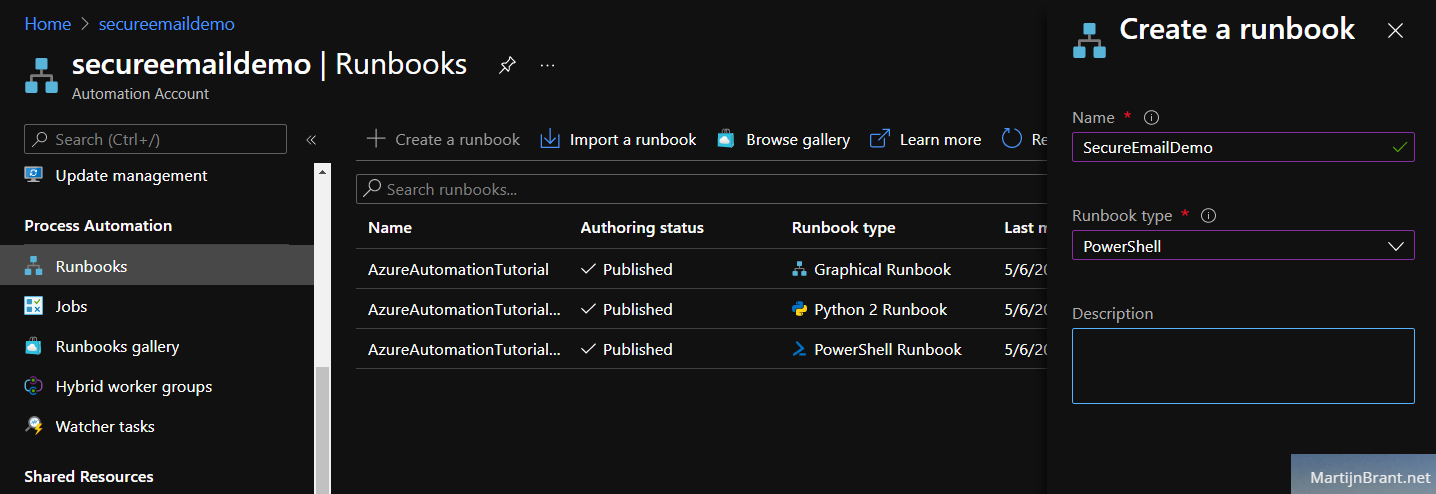
Having imported these modules, we can now finally add a new Runbook. Select the Runbooks section, Create a runbook and select the type PowerShell. From the new RunBook, click the Edit button on the top row.
Paste the following code below and click the Save button. You can directly test your new script using the Test Pane. That’s it, you’ve just sent an email from an Azure Automation PowerShell Runbook using an Azure AD App with Graph API permissions secured by an Azure Key Vault!
1 |
|